The great C-41 stand development experiment, Part 2: Comparing Colour Negative Films at ISO 1600
OnLast time, we stand developed a couple of Fujifilm C-41 films and saw how far we could push them. This time, we’re going to shoot a few different films at various ISO speeds (with a particular focus on ISO 1600) and see how they hold up.
Why ISO 1600? For me, 1600 is really the sweet spot when taking pictures indoors, in the following sense: at f/1.8 and 1/60th of a second (the slowest shutter speed I feel comfortable handholding), I feel like ISO 1600 is really the highest you can go before you start making the scene look brighter than it really is. That means that if my film can give me a correct exposure at ISO 1600, then all I need to remember is that 1/60 + f/1.8 sweet spot and start shooting.
Superia 1600 (Natura 1600)
My highly-scientific Google research leads me to conclude that Superia 1600 is the same film as the Natura 1600 film that people pay $15+ per roll to import from Japan. The difference being that you can order Superia 1600 from B&H for $11 per roll.
I developed this roll using the method I described in Part 1 of this series:
- 45 minute stand development at room temperature in C-41 chemistry.
- Blix normally.

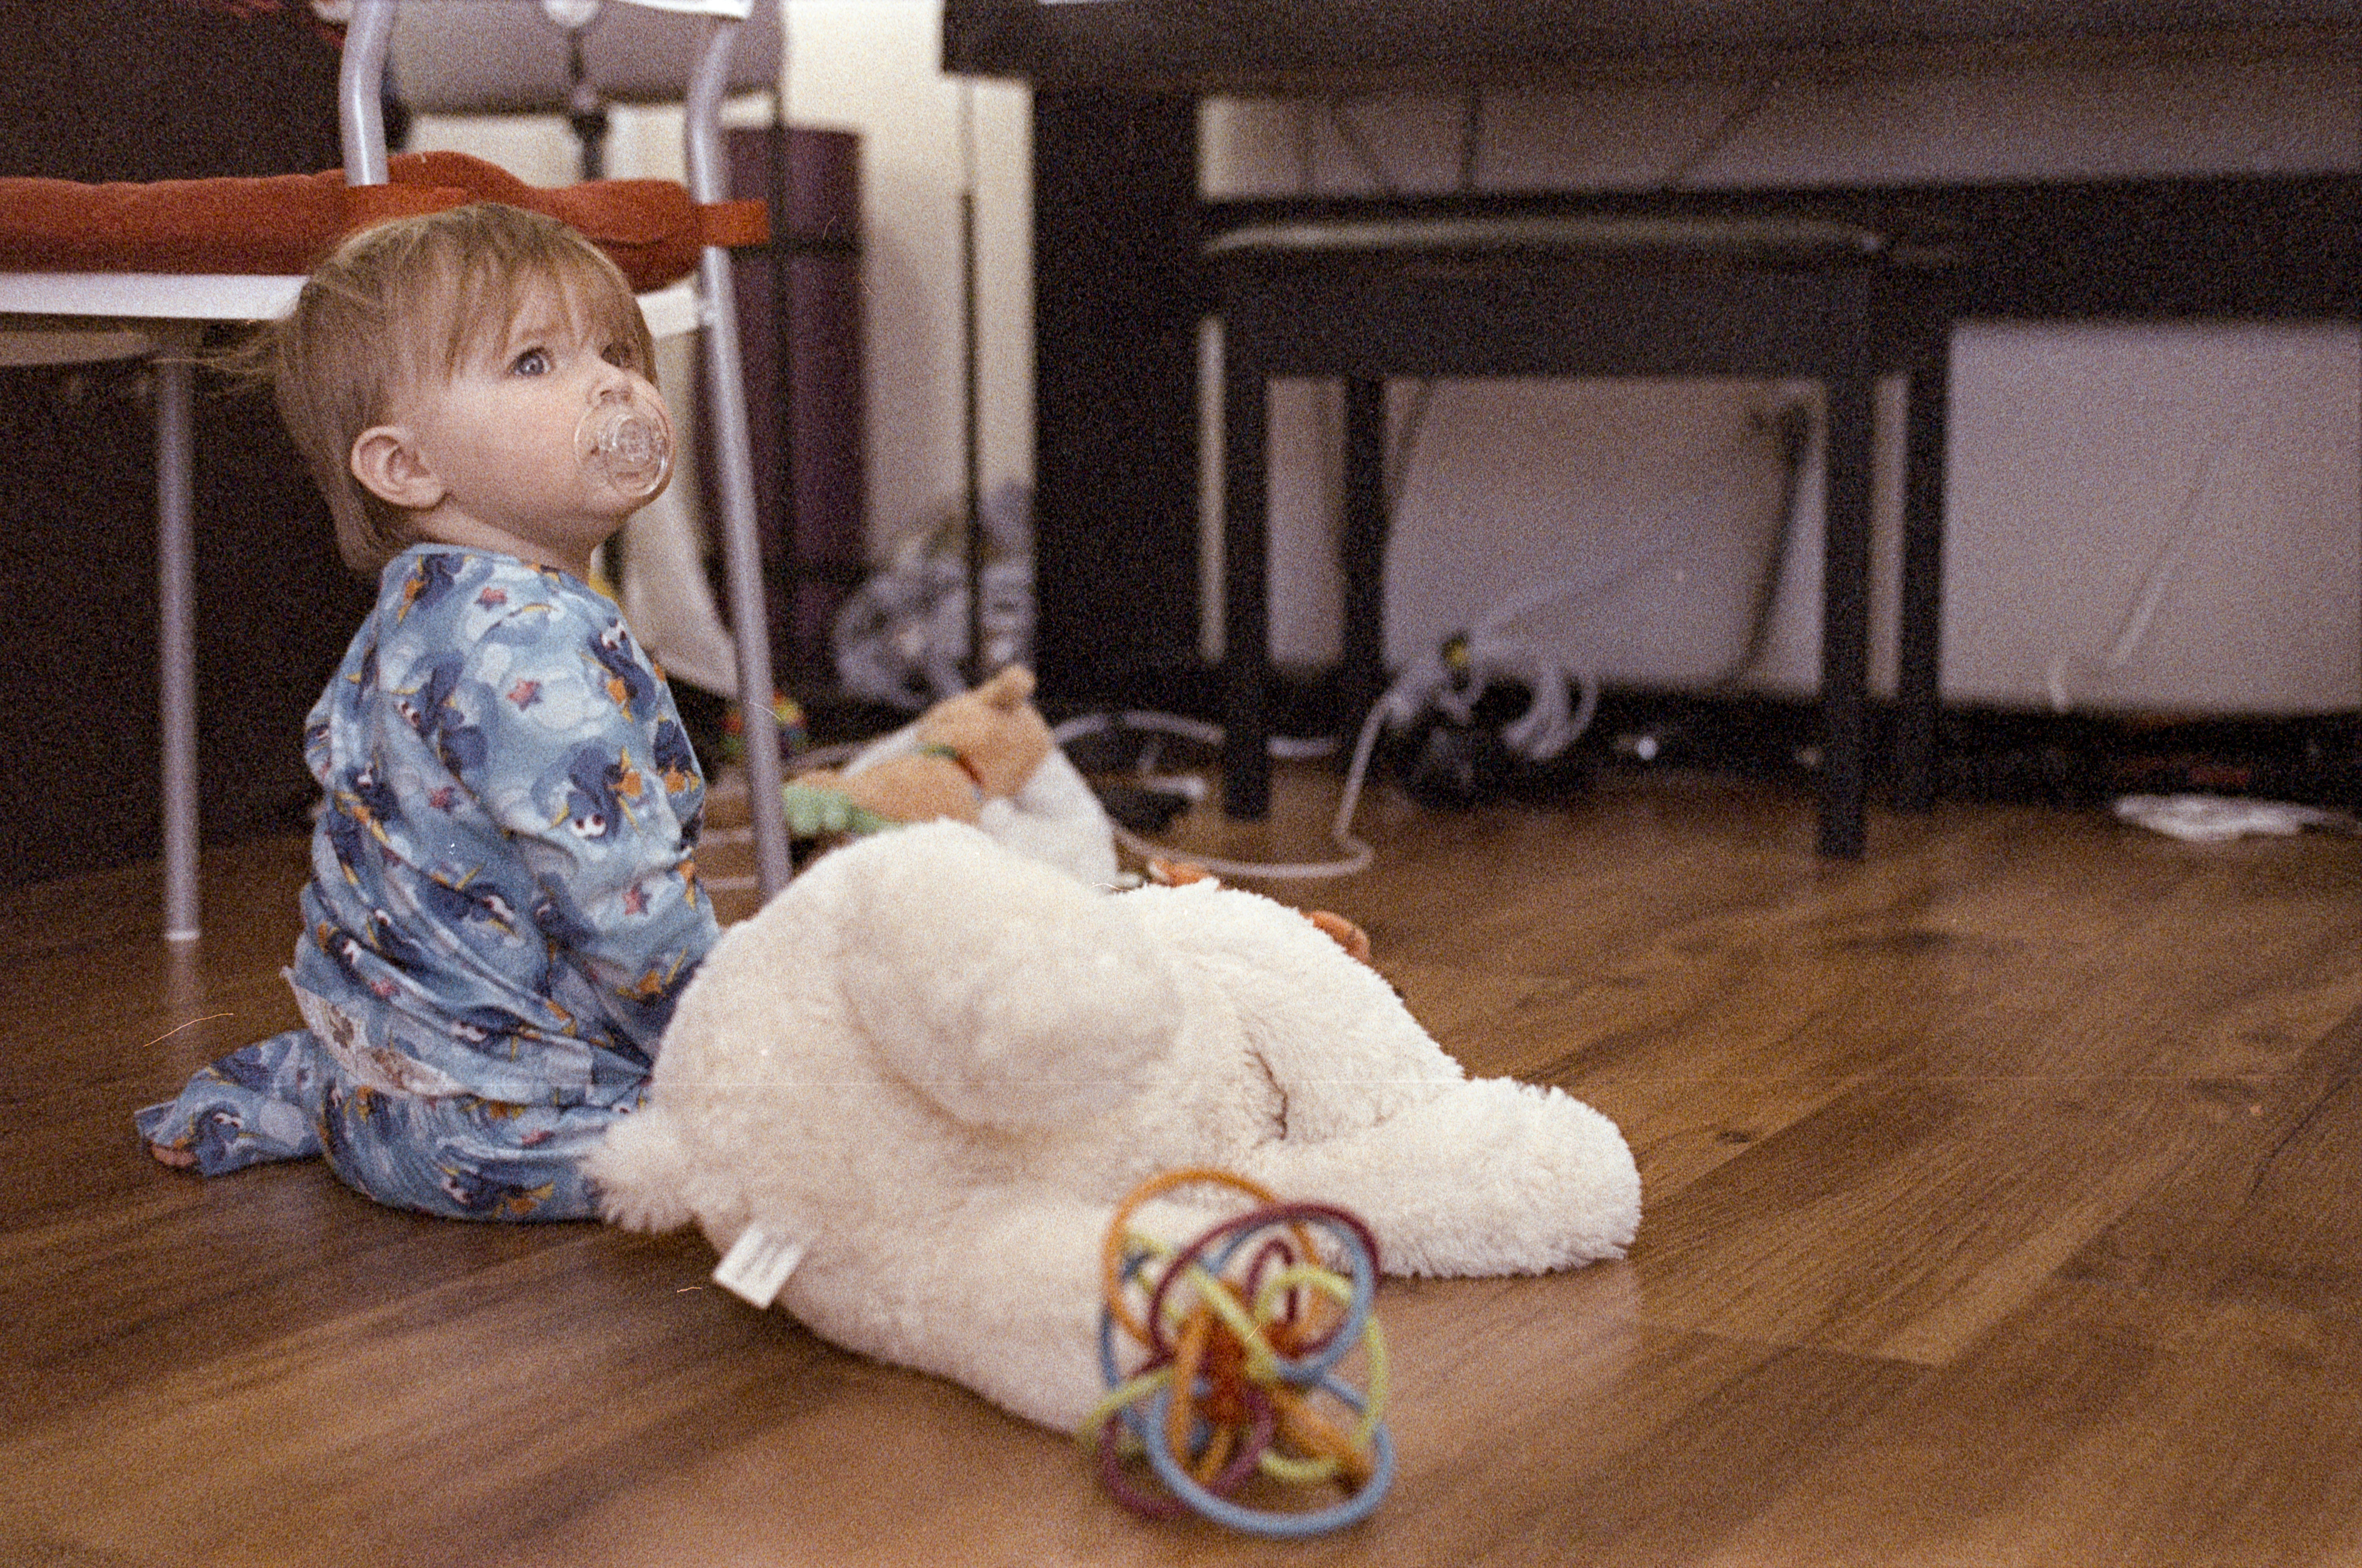
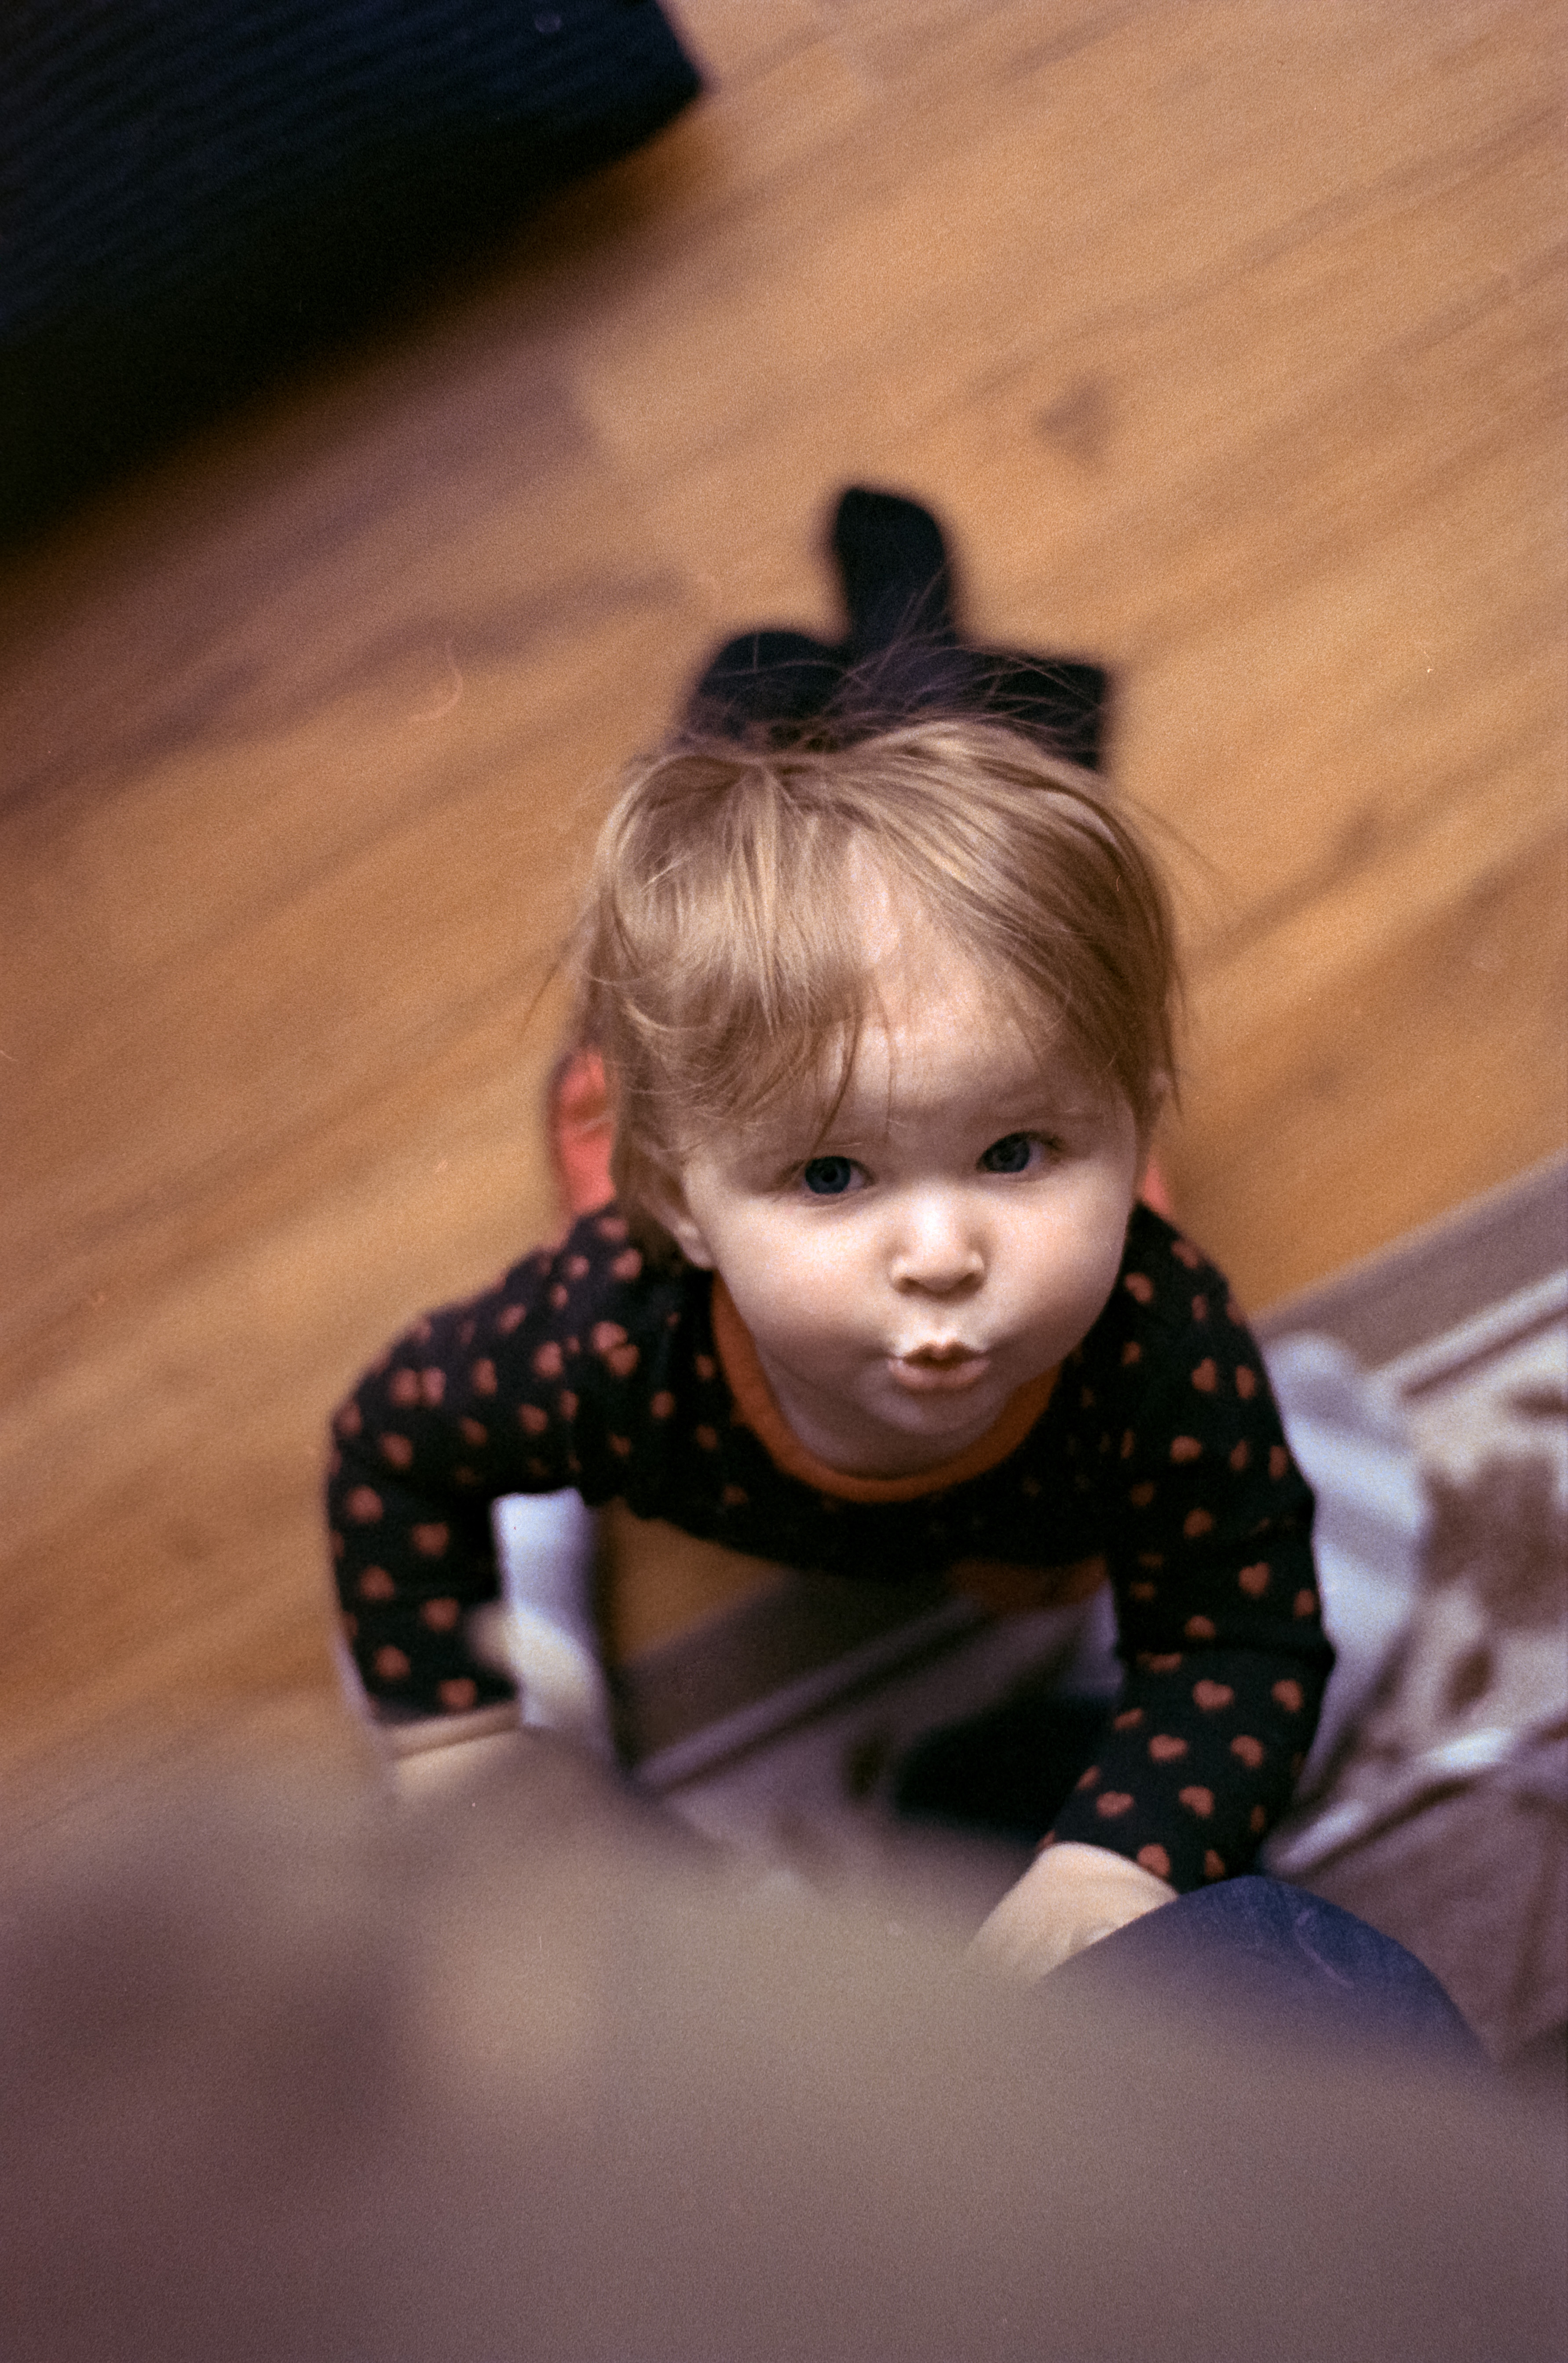
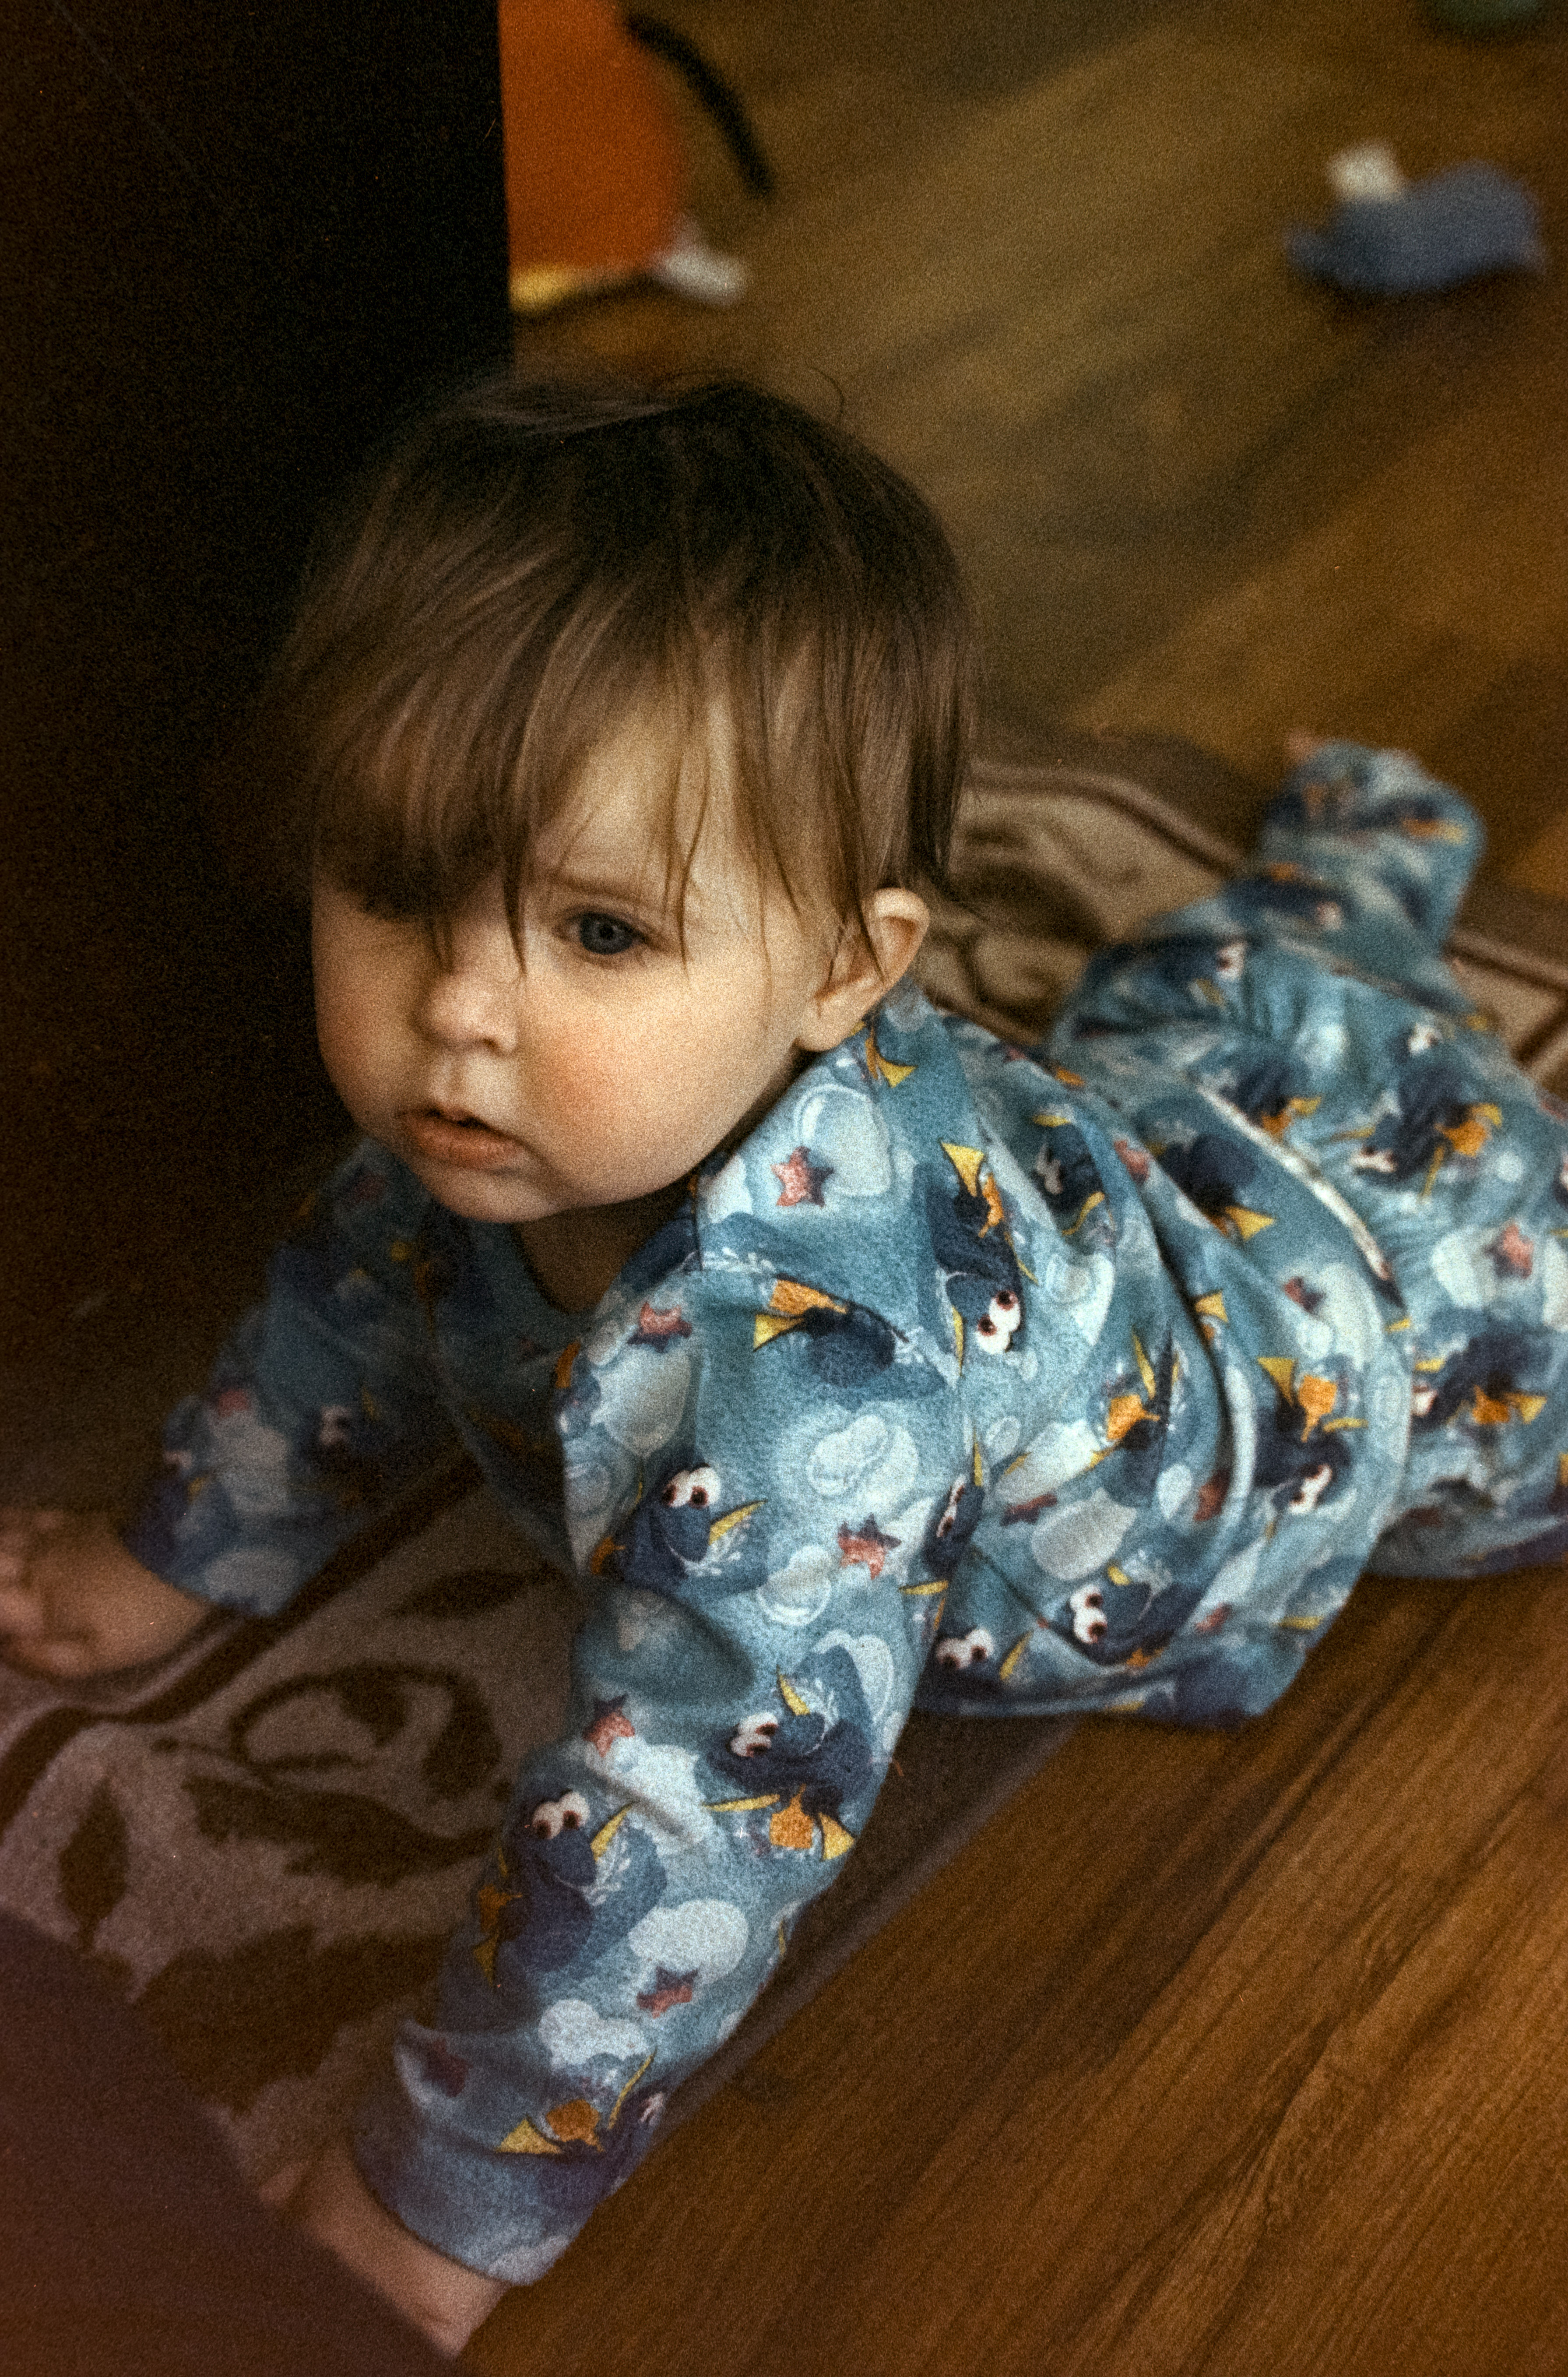
Superia 1600 shot at ISO 1600
As you can probably expect from consumer-grade ISO 1600 film, it’s grainy. Really grainy. If grain bothers you, this isn’t the film for you. That said, and this is subjective, but I think it looks great. I care a lot more about colours than I do about grain (which I think looks fairly pleasant anyway), and to my eyes the colours I get out of this film are fantastic: incredibly easy to scan and colour correct—much easier than professional films like Pro 400H and Portra 400.
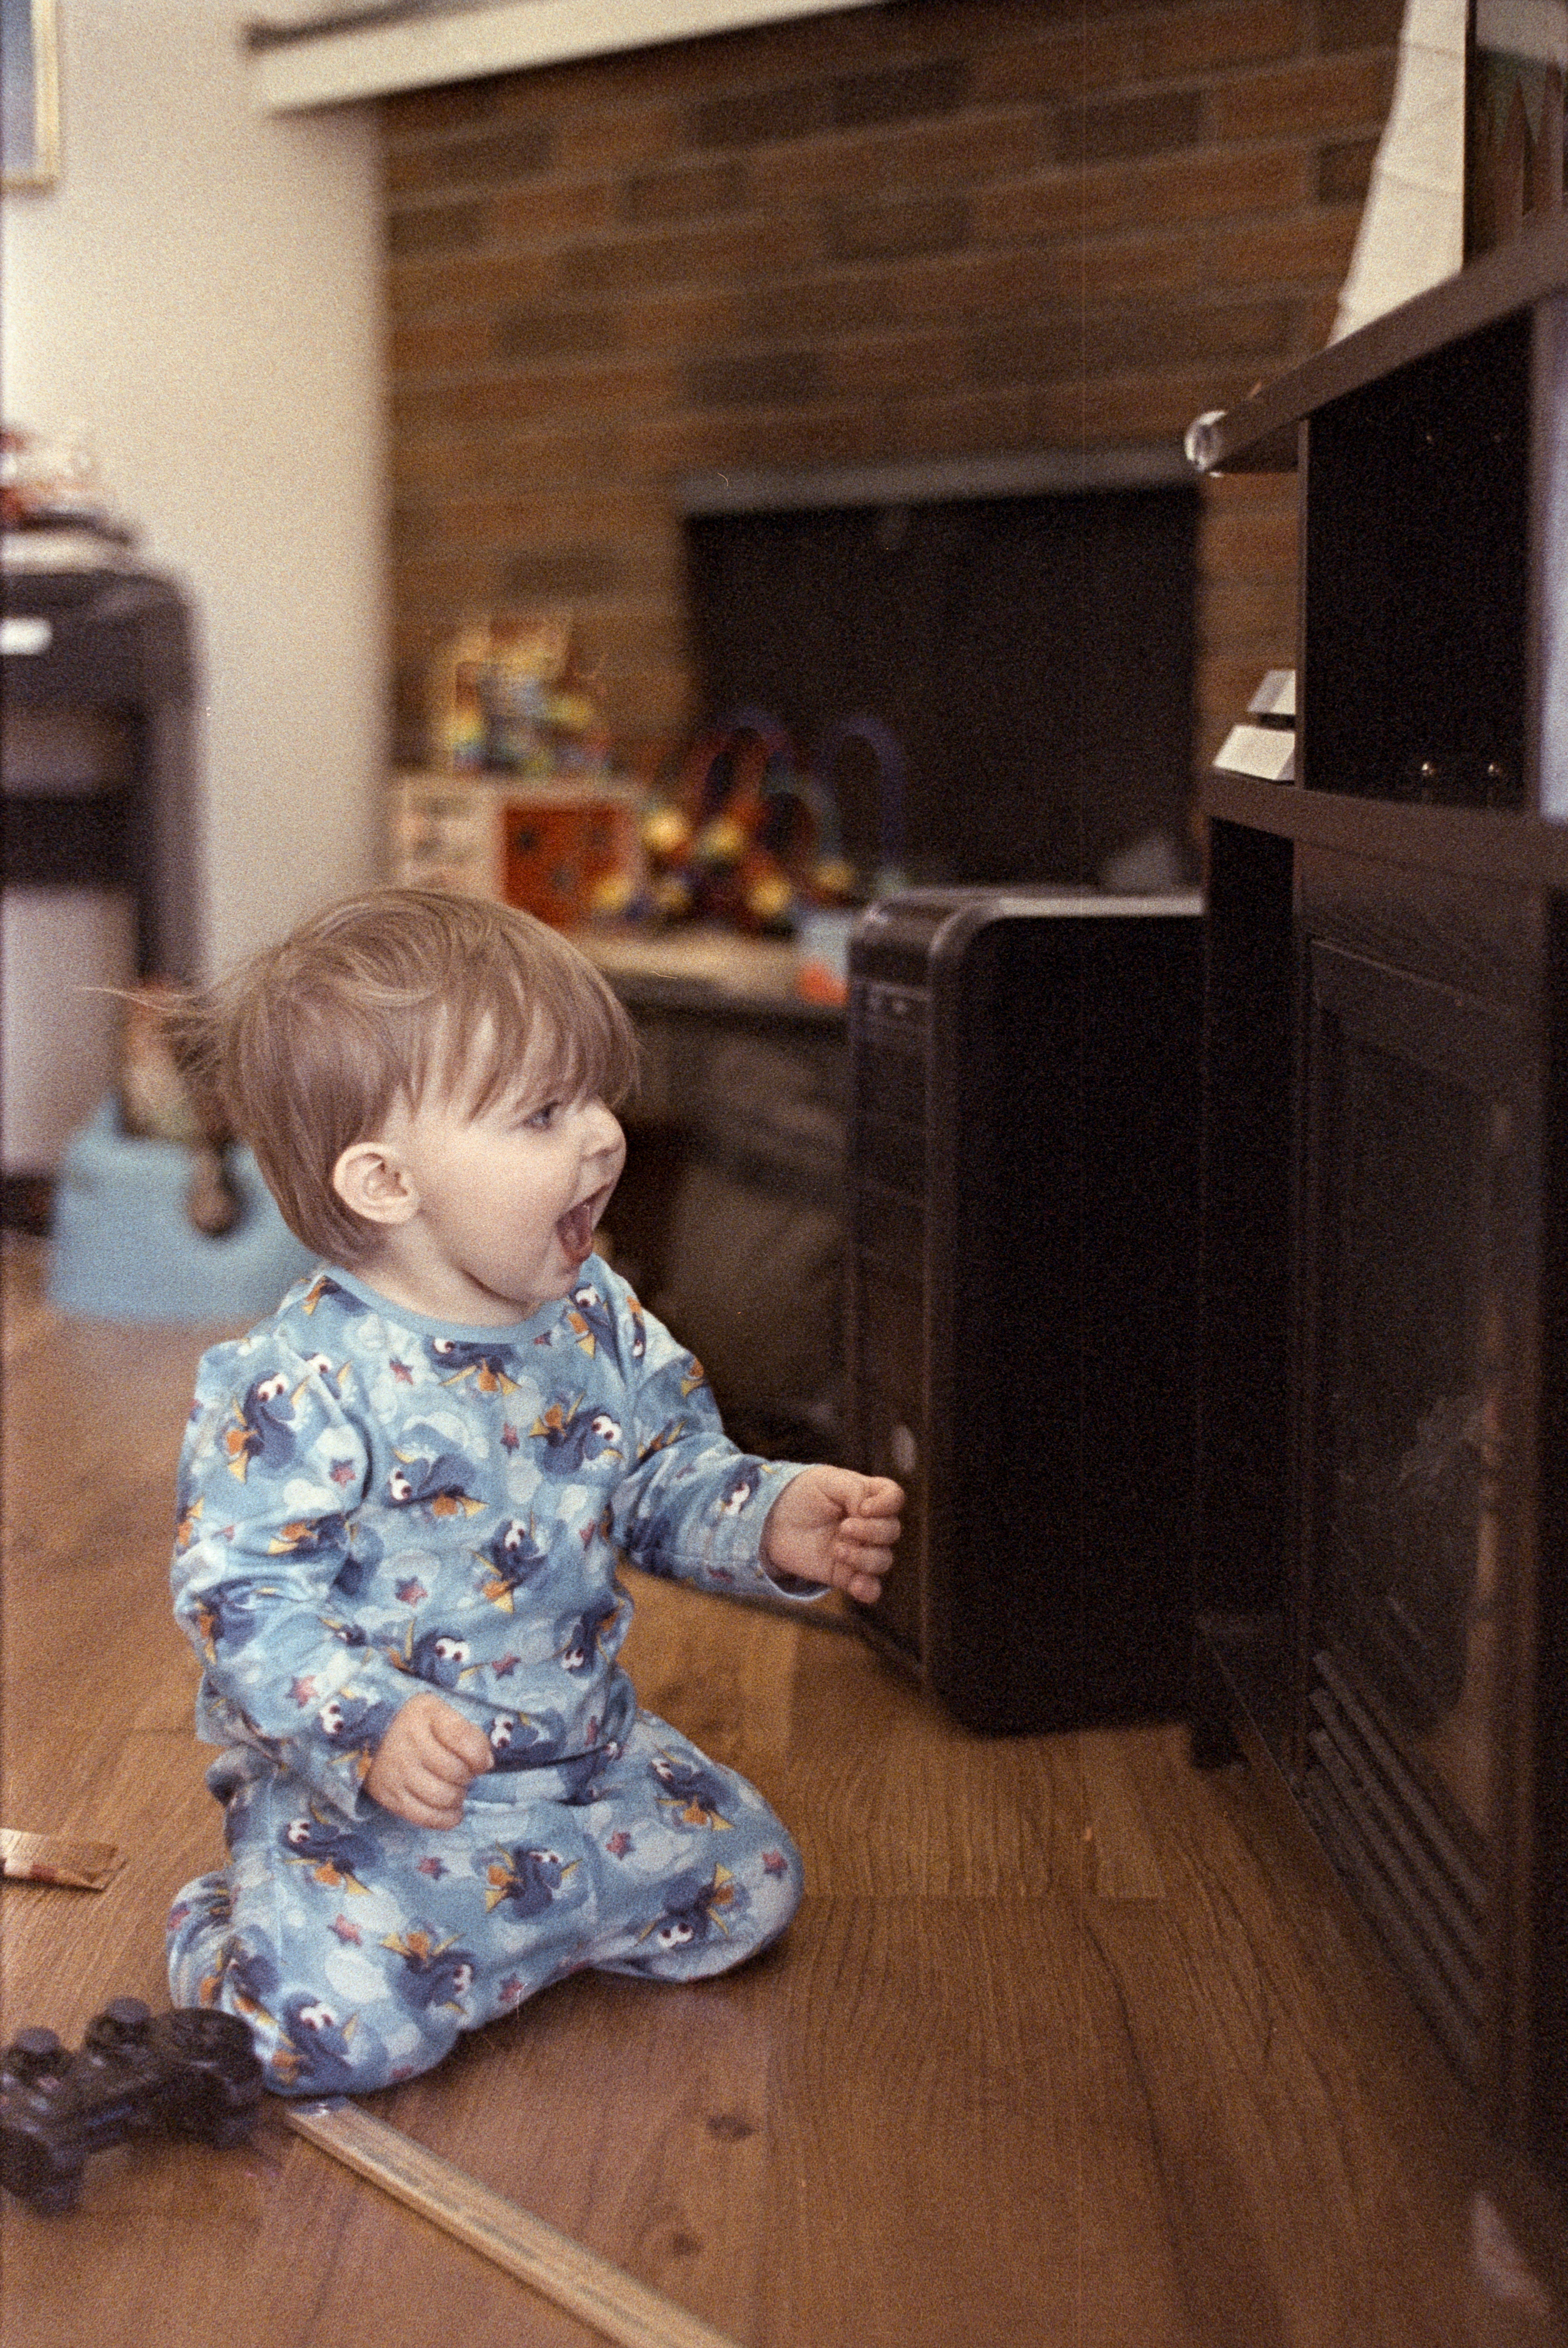
Superia 1600 shot at ISO 1600
When you have the available light for it, setting your light meter to ISO 800 makes the grain significantly less pronounced.
Superia 1600 shot at ISO 800
In the future I’ll have to try this film in different lighting conditions (and at even higher ISO speeds) but I really do love the way it looks. The grain is a little much at times, but it really does contribute to The Look I’m trying to get out of shooting film.
Portra 400
I developed this roll a little differently, with an additional step at the beginning roughly according to this thread on APUG.
- Stand-develop in Rodinal 1:100 for 10 minutes.
- Stand-develop in C-41 chemistry for 45 minutes.
- Blix normally.
The Rodinal step is supposed to make the shadow areas of pushed frames look more pleasant.
Below is a picture shot under not-particularly flattering fluorescent lights in an elevator at ISO 1600. Make your own judgements, but I think the contrast and colours look lovely in this image. Compared to Superia 1600, the grain is barely visible.

Portra 400 shot at ISO 1600 under fluorescent lighting
Next is a picture in (really, really ugly) mixed lighting, a combination of a tungsten lamp just out of frame to the left and a window shining daylight from further to the left. I usually take black & white film with me when baby visits grandma and grandpa, because the lighting in their condo is just that ugly. Despite that, Portra 400 performed remarkably well.
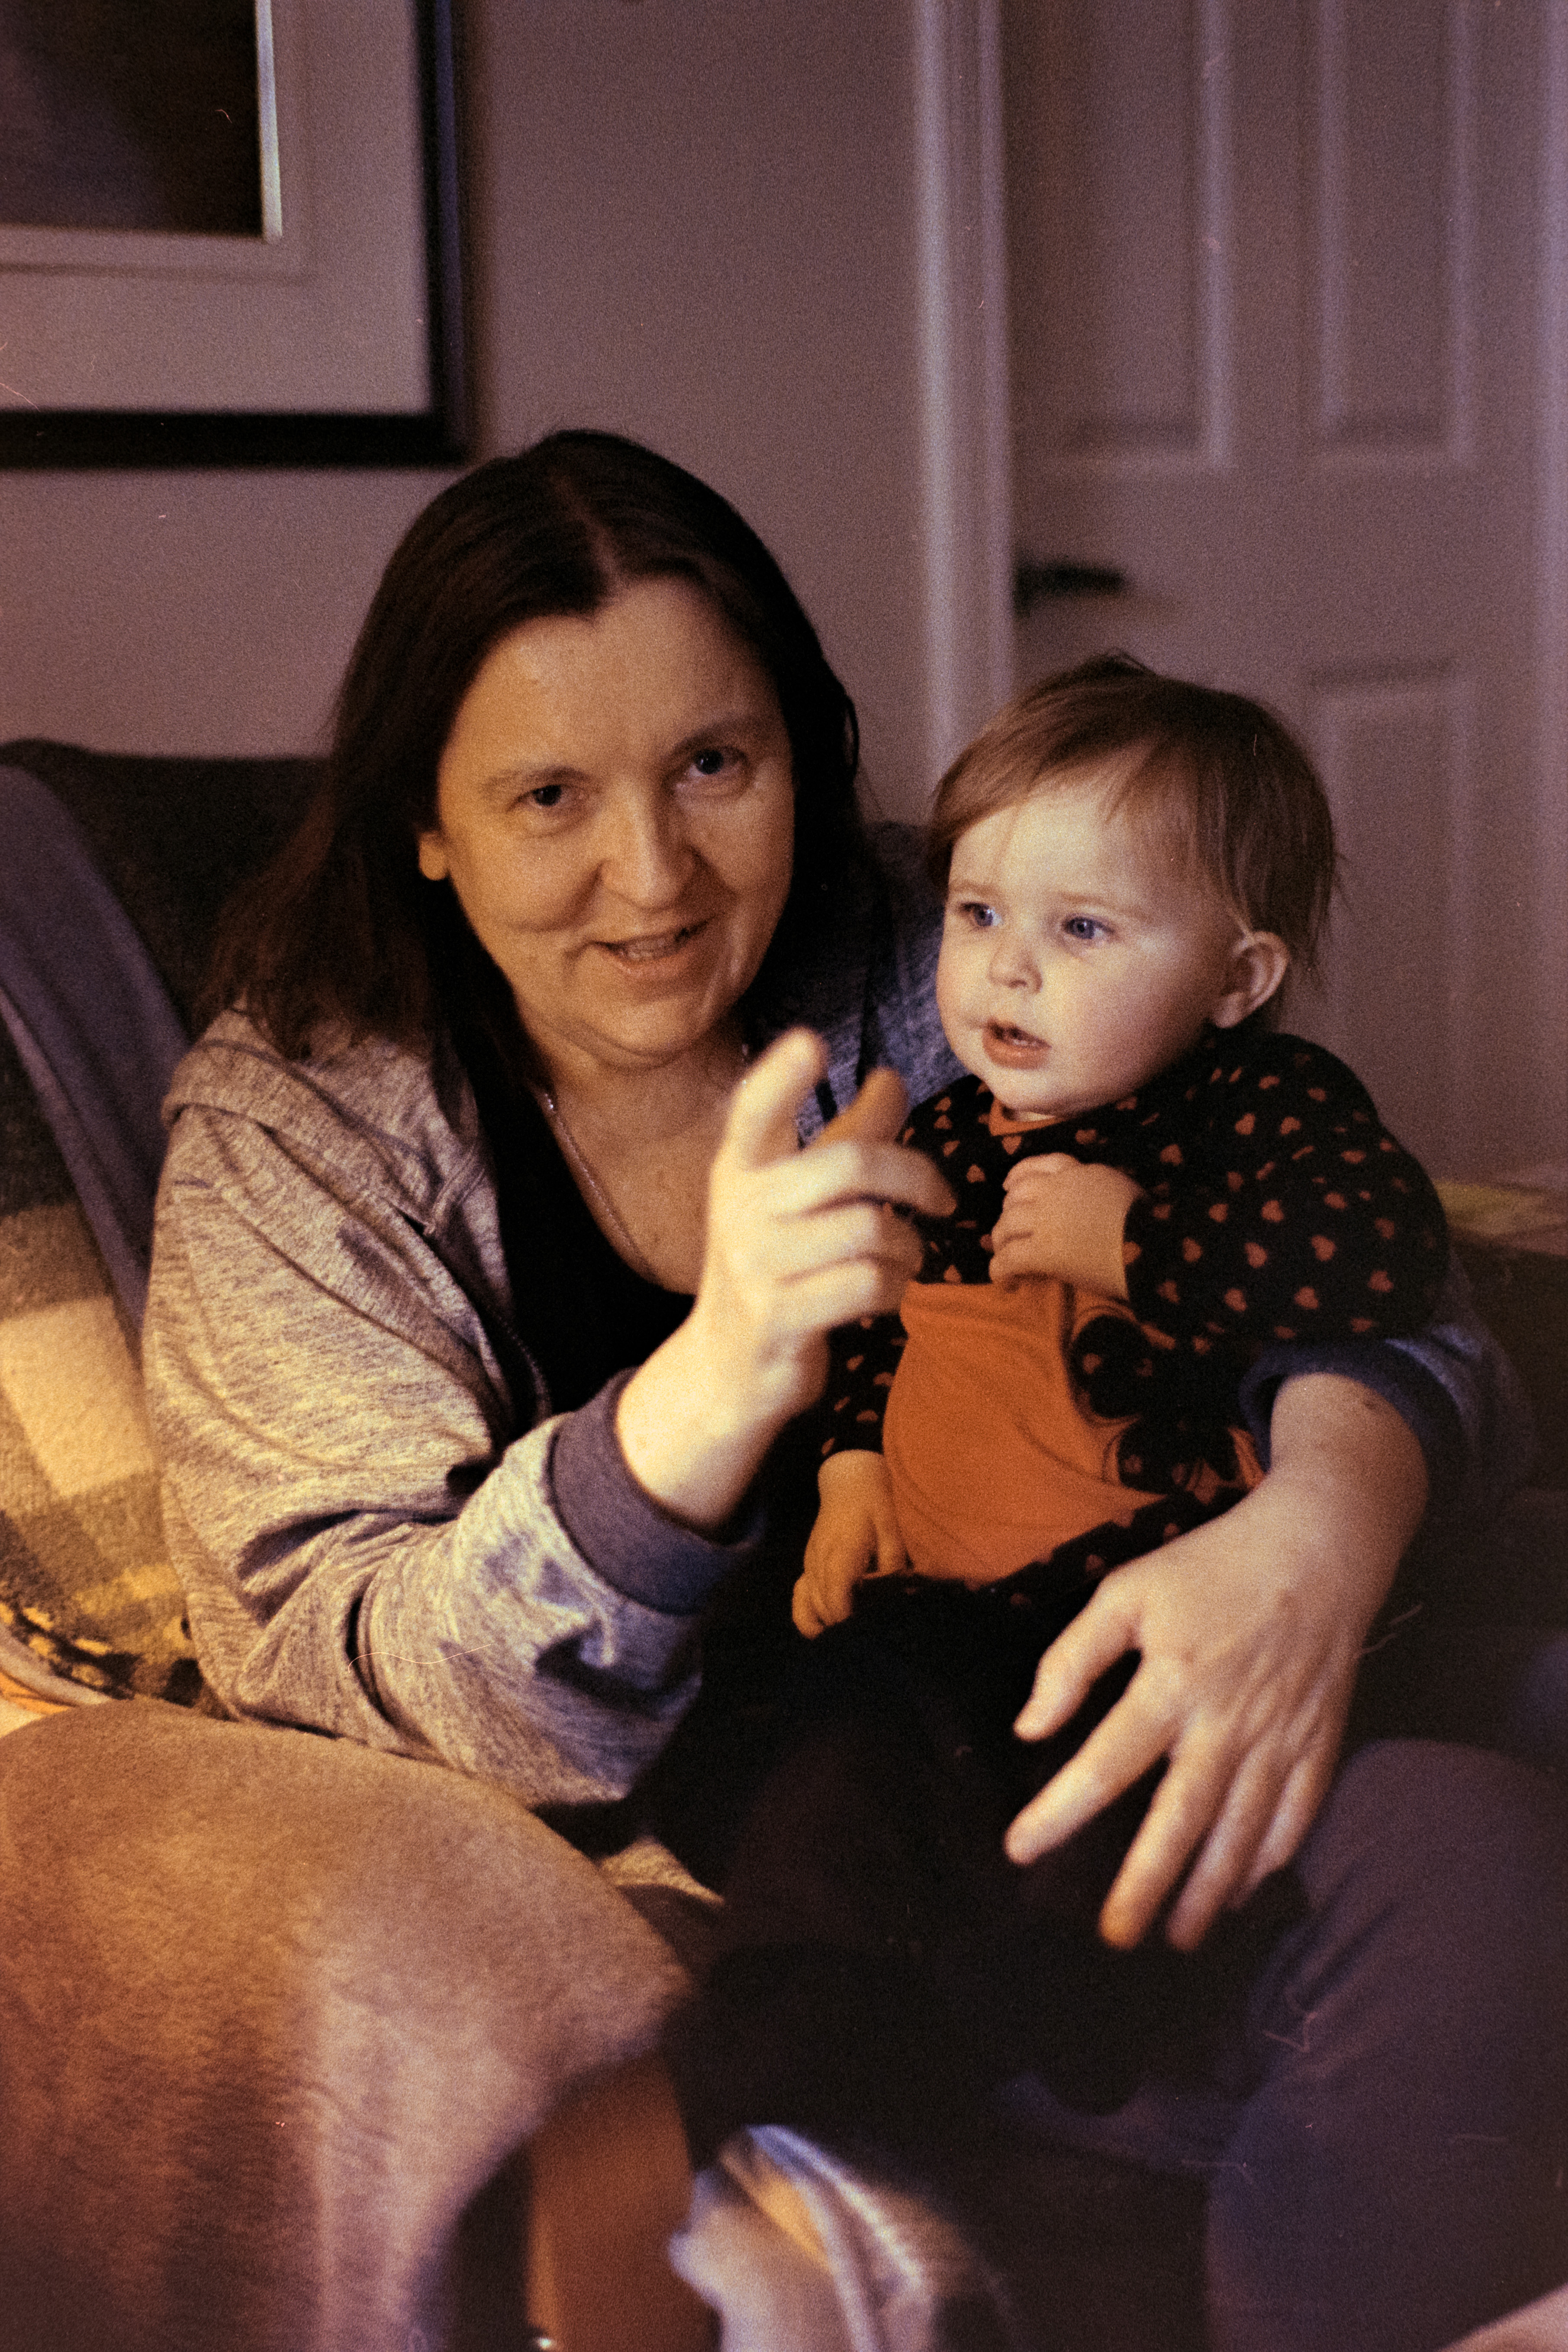
Portra 400 shot at ISO 1600 in mixed tungsten lighting and daylight
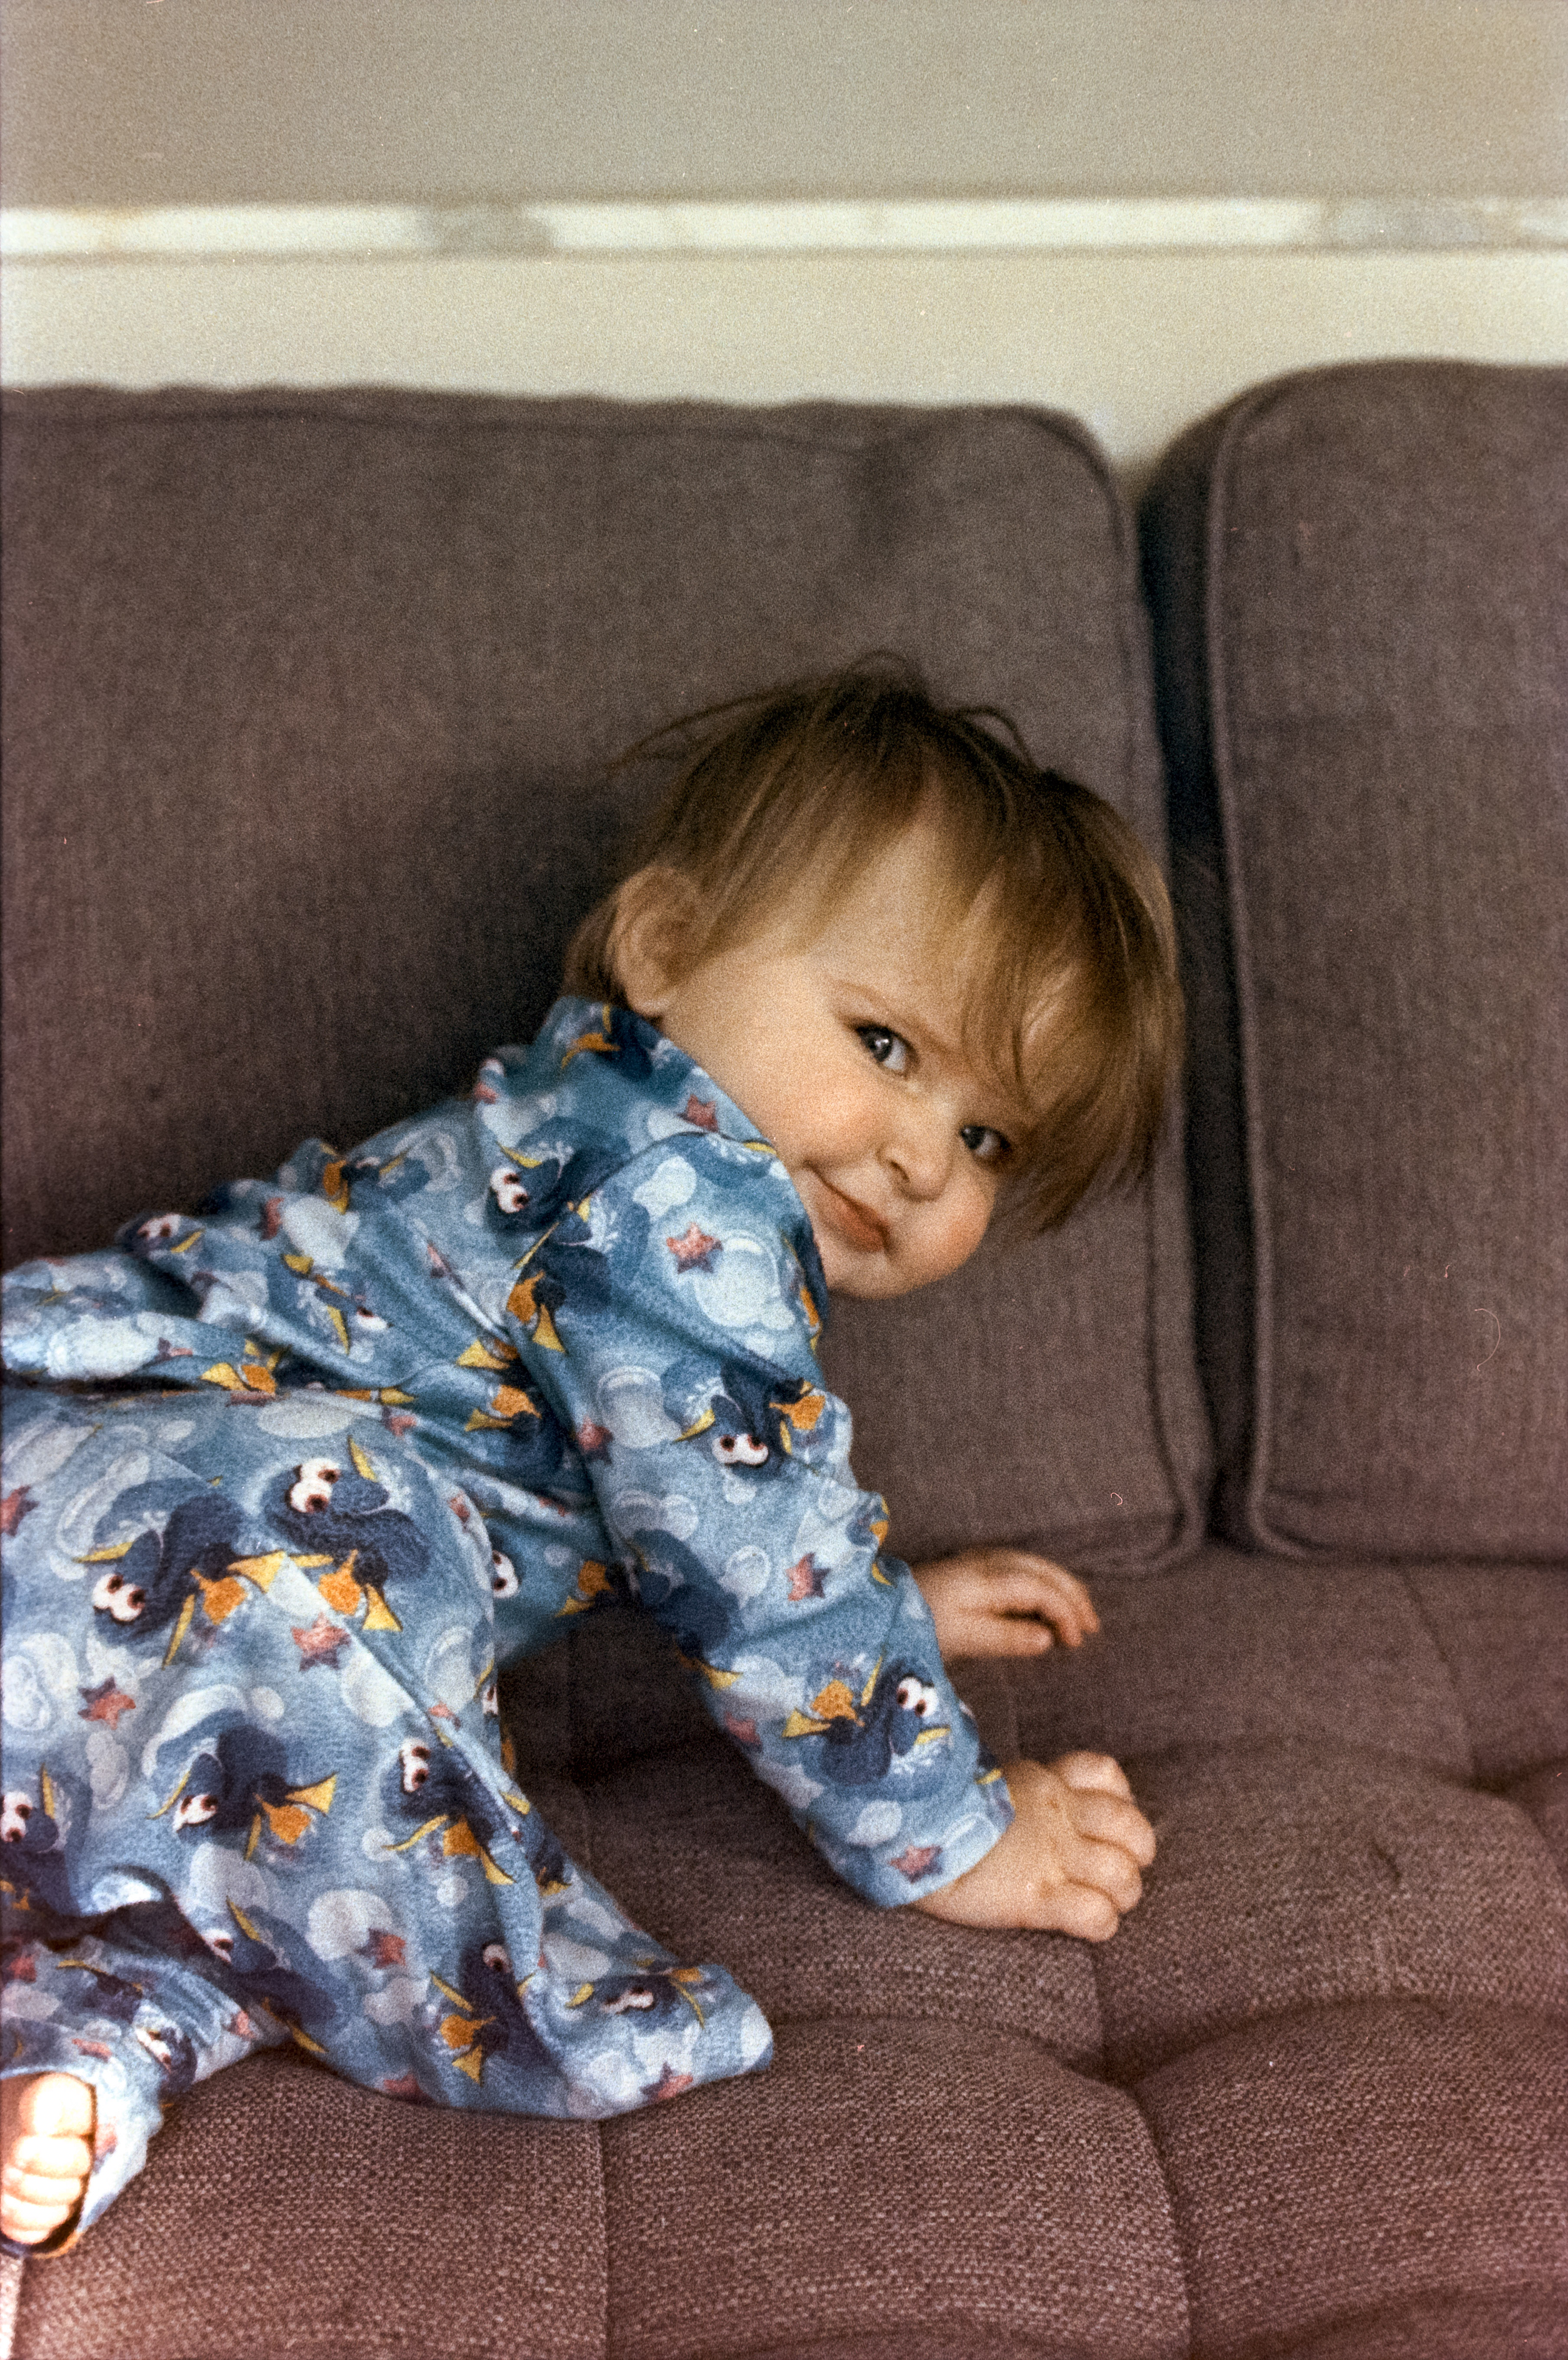
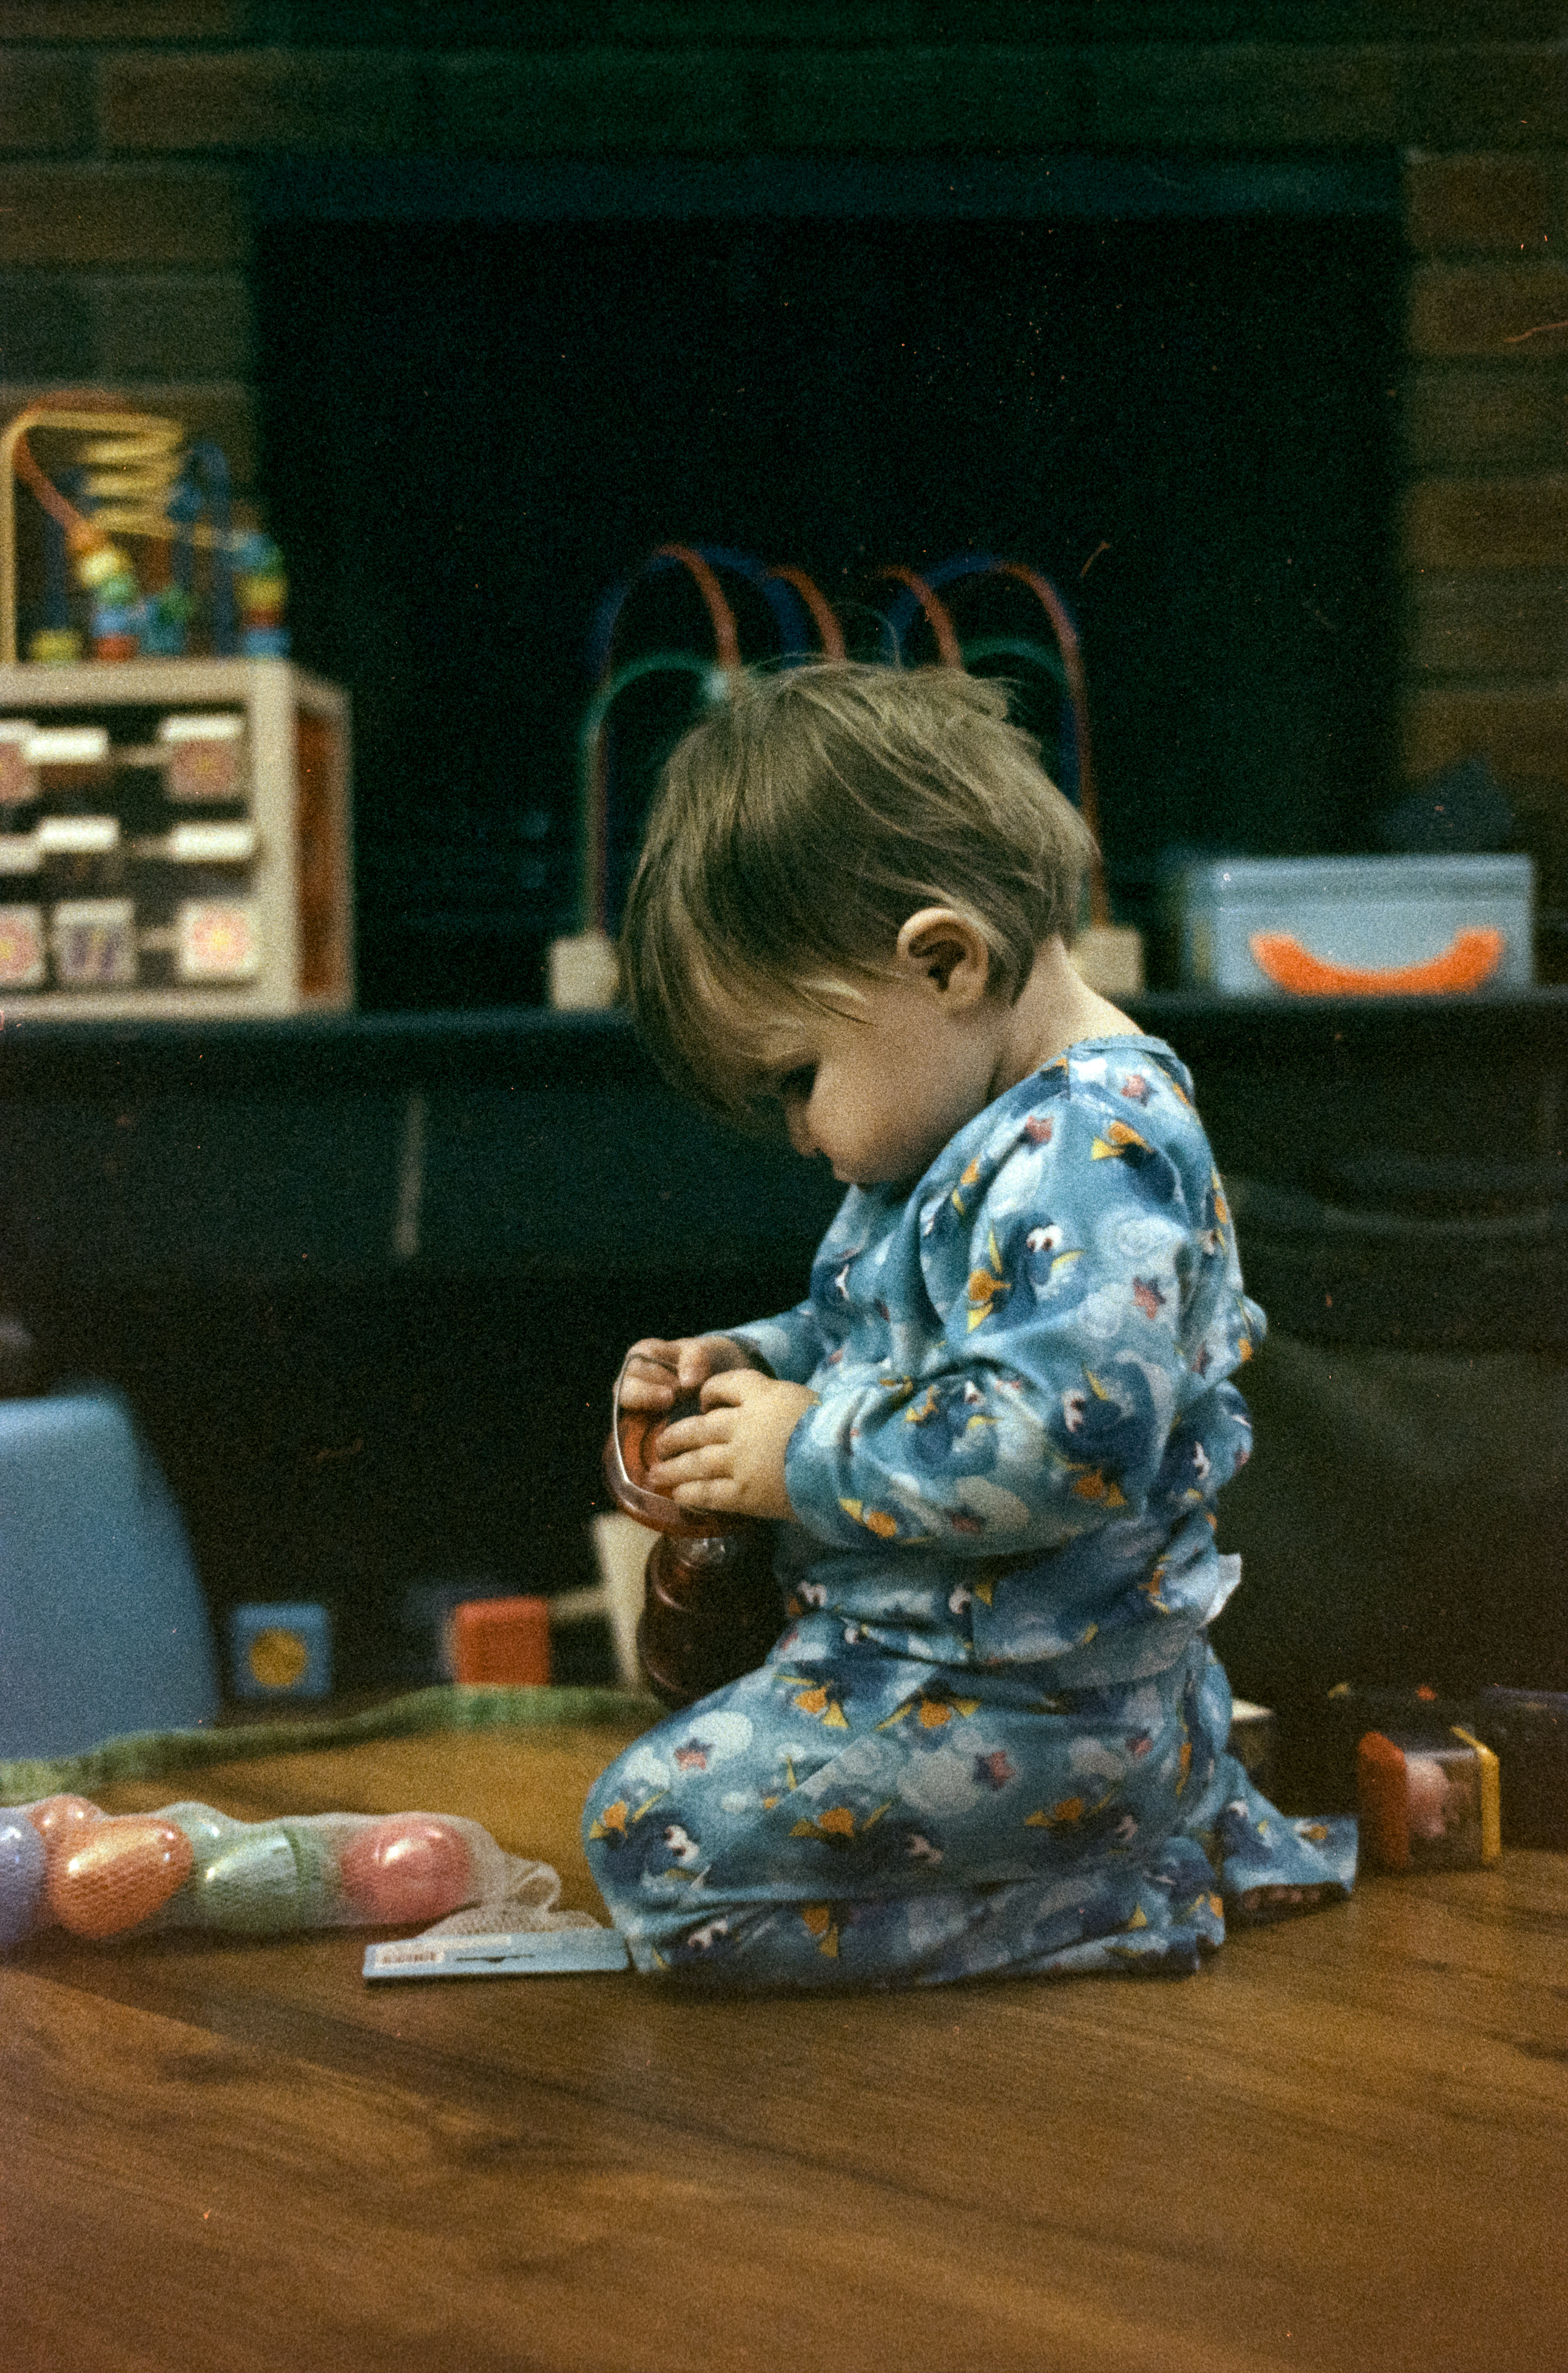
Portra 400 shot at ISO 1600
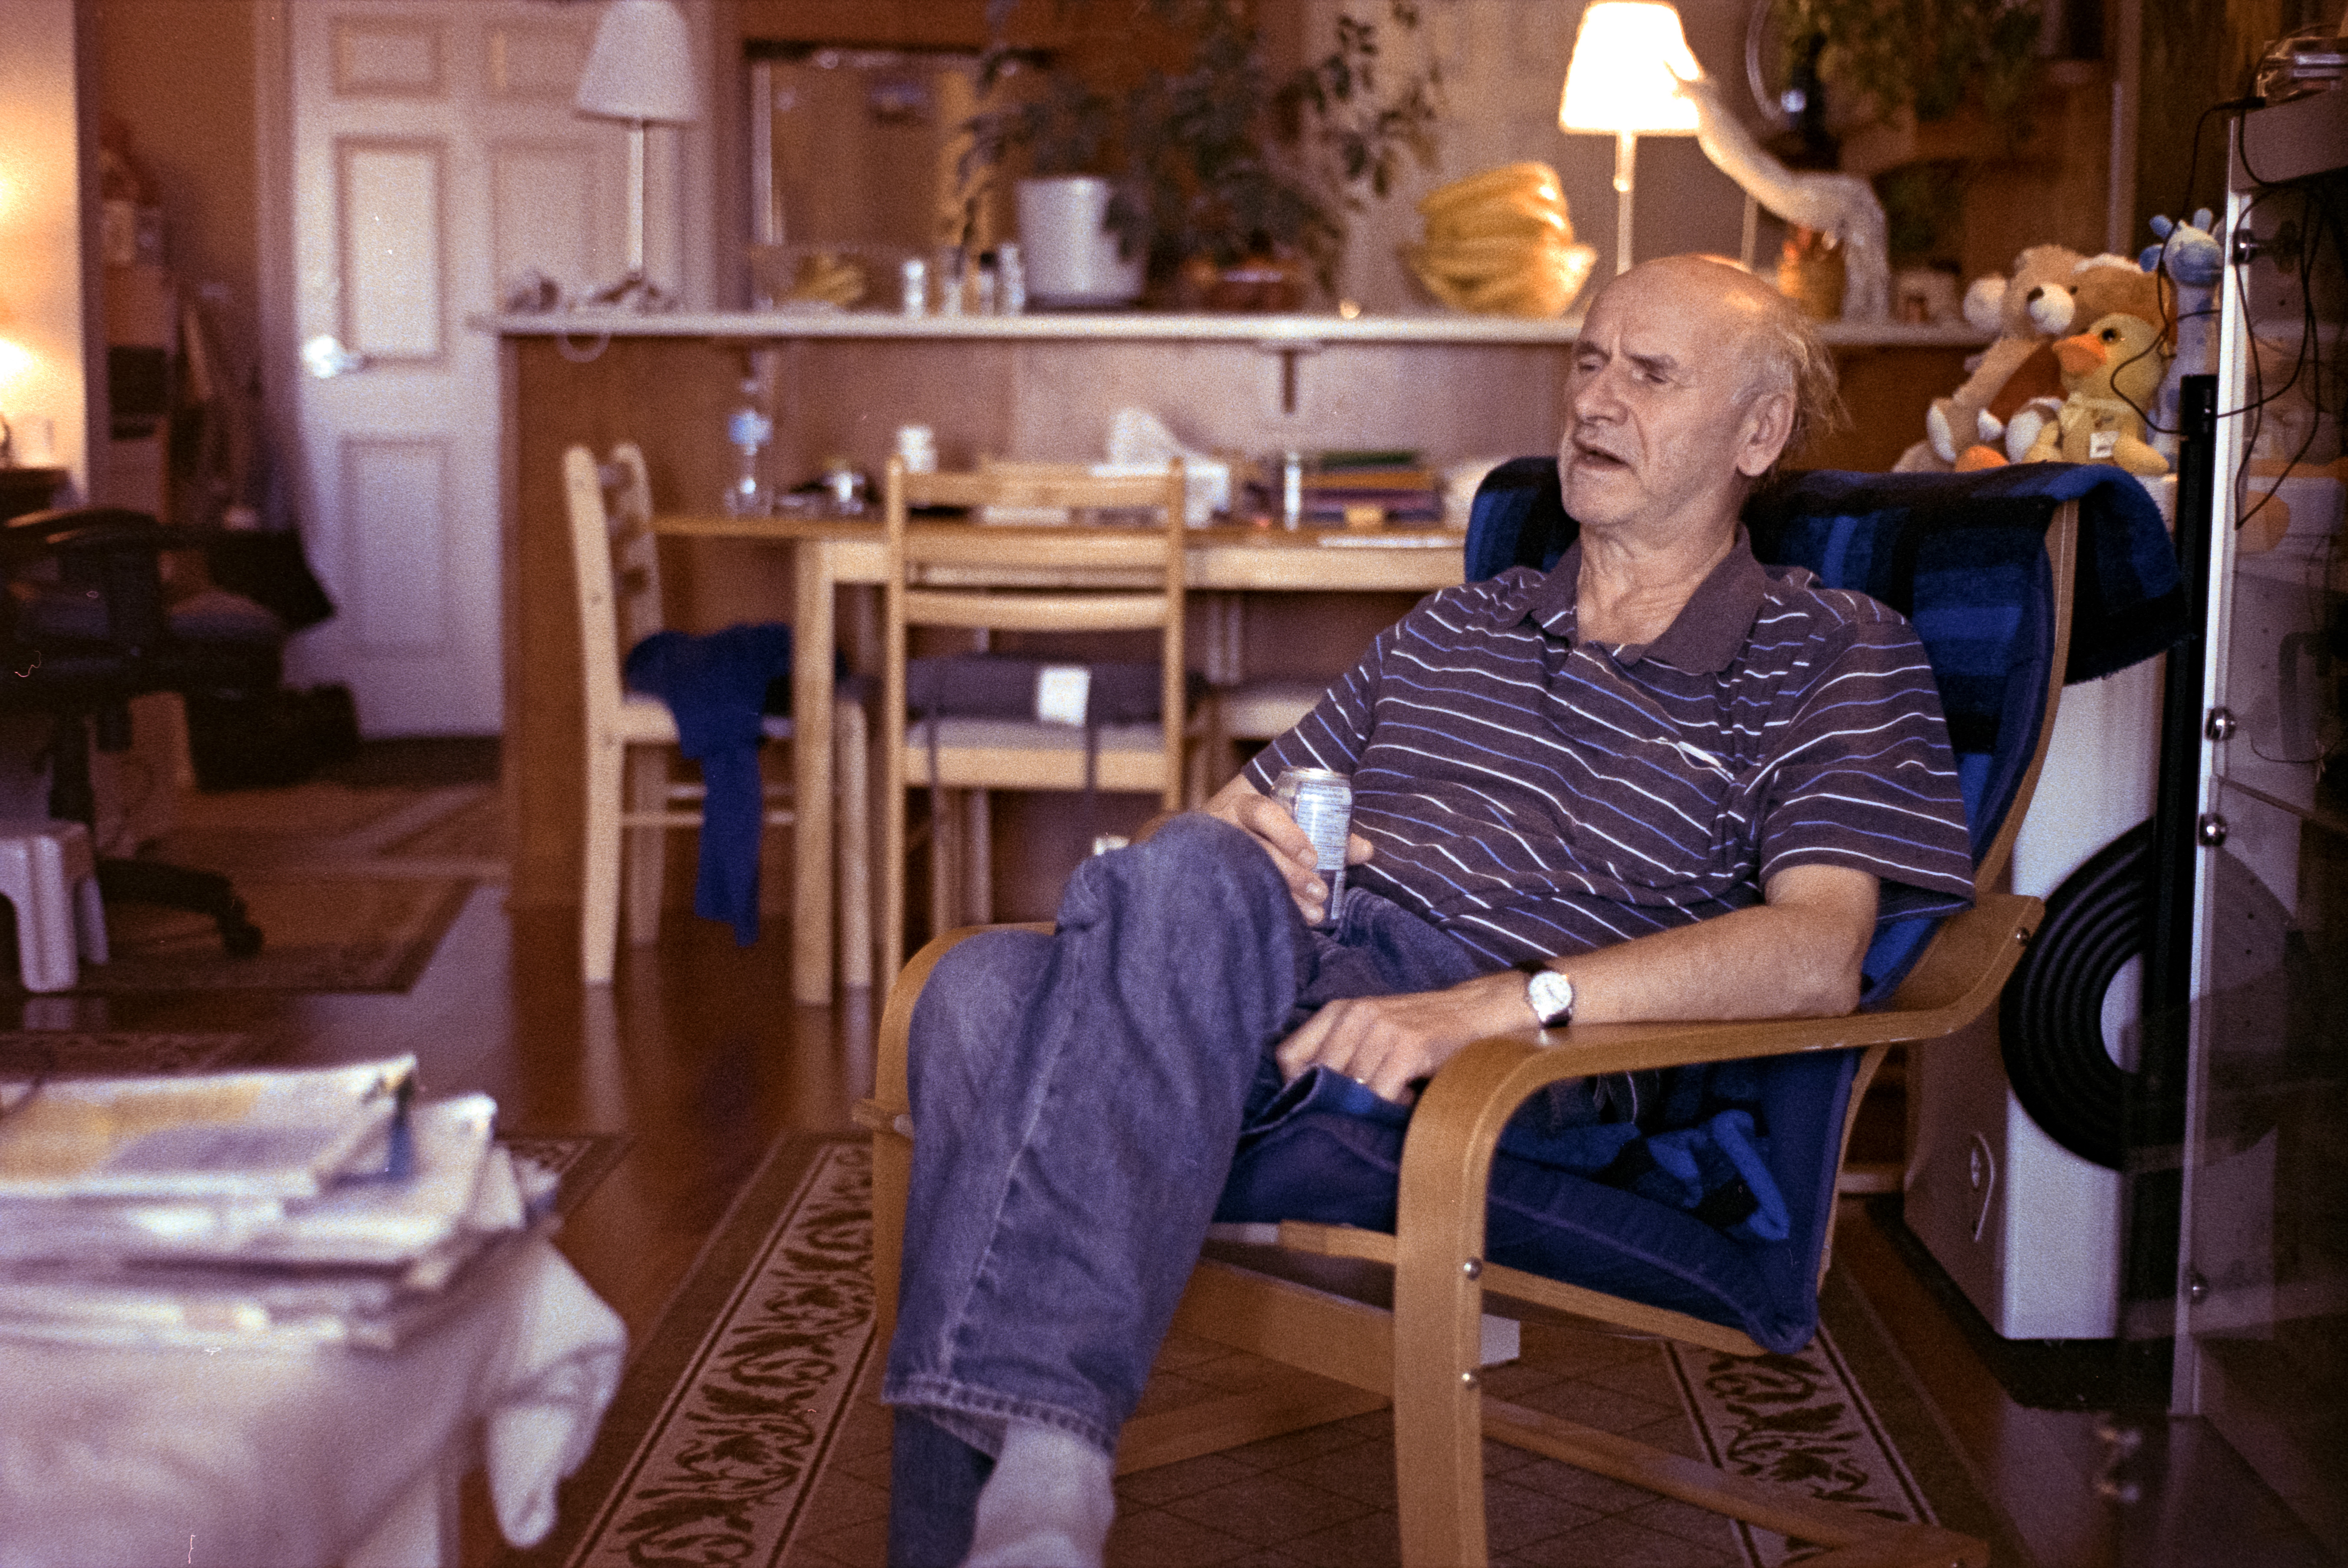
Below is a picture at ISO 800, with more reasonable indoor light (daylight-balanced CFLs and window-light from behind).
Portra 400 shot at ISO 800
Shot at box speed, the images took on incredibly unique (and I think beautiful!) tones. There is no way you could possibly mistake the below image for a digital file. The tones, the contrast, the colours scream analog, and are pretty much exactly what I’m trying to get out of shooting film.

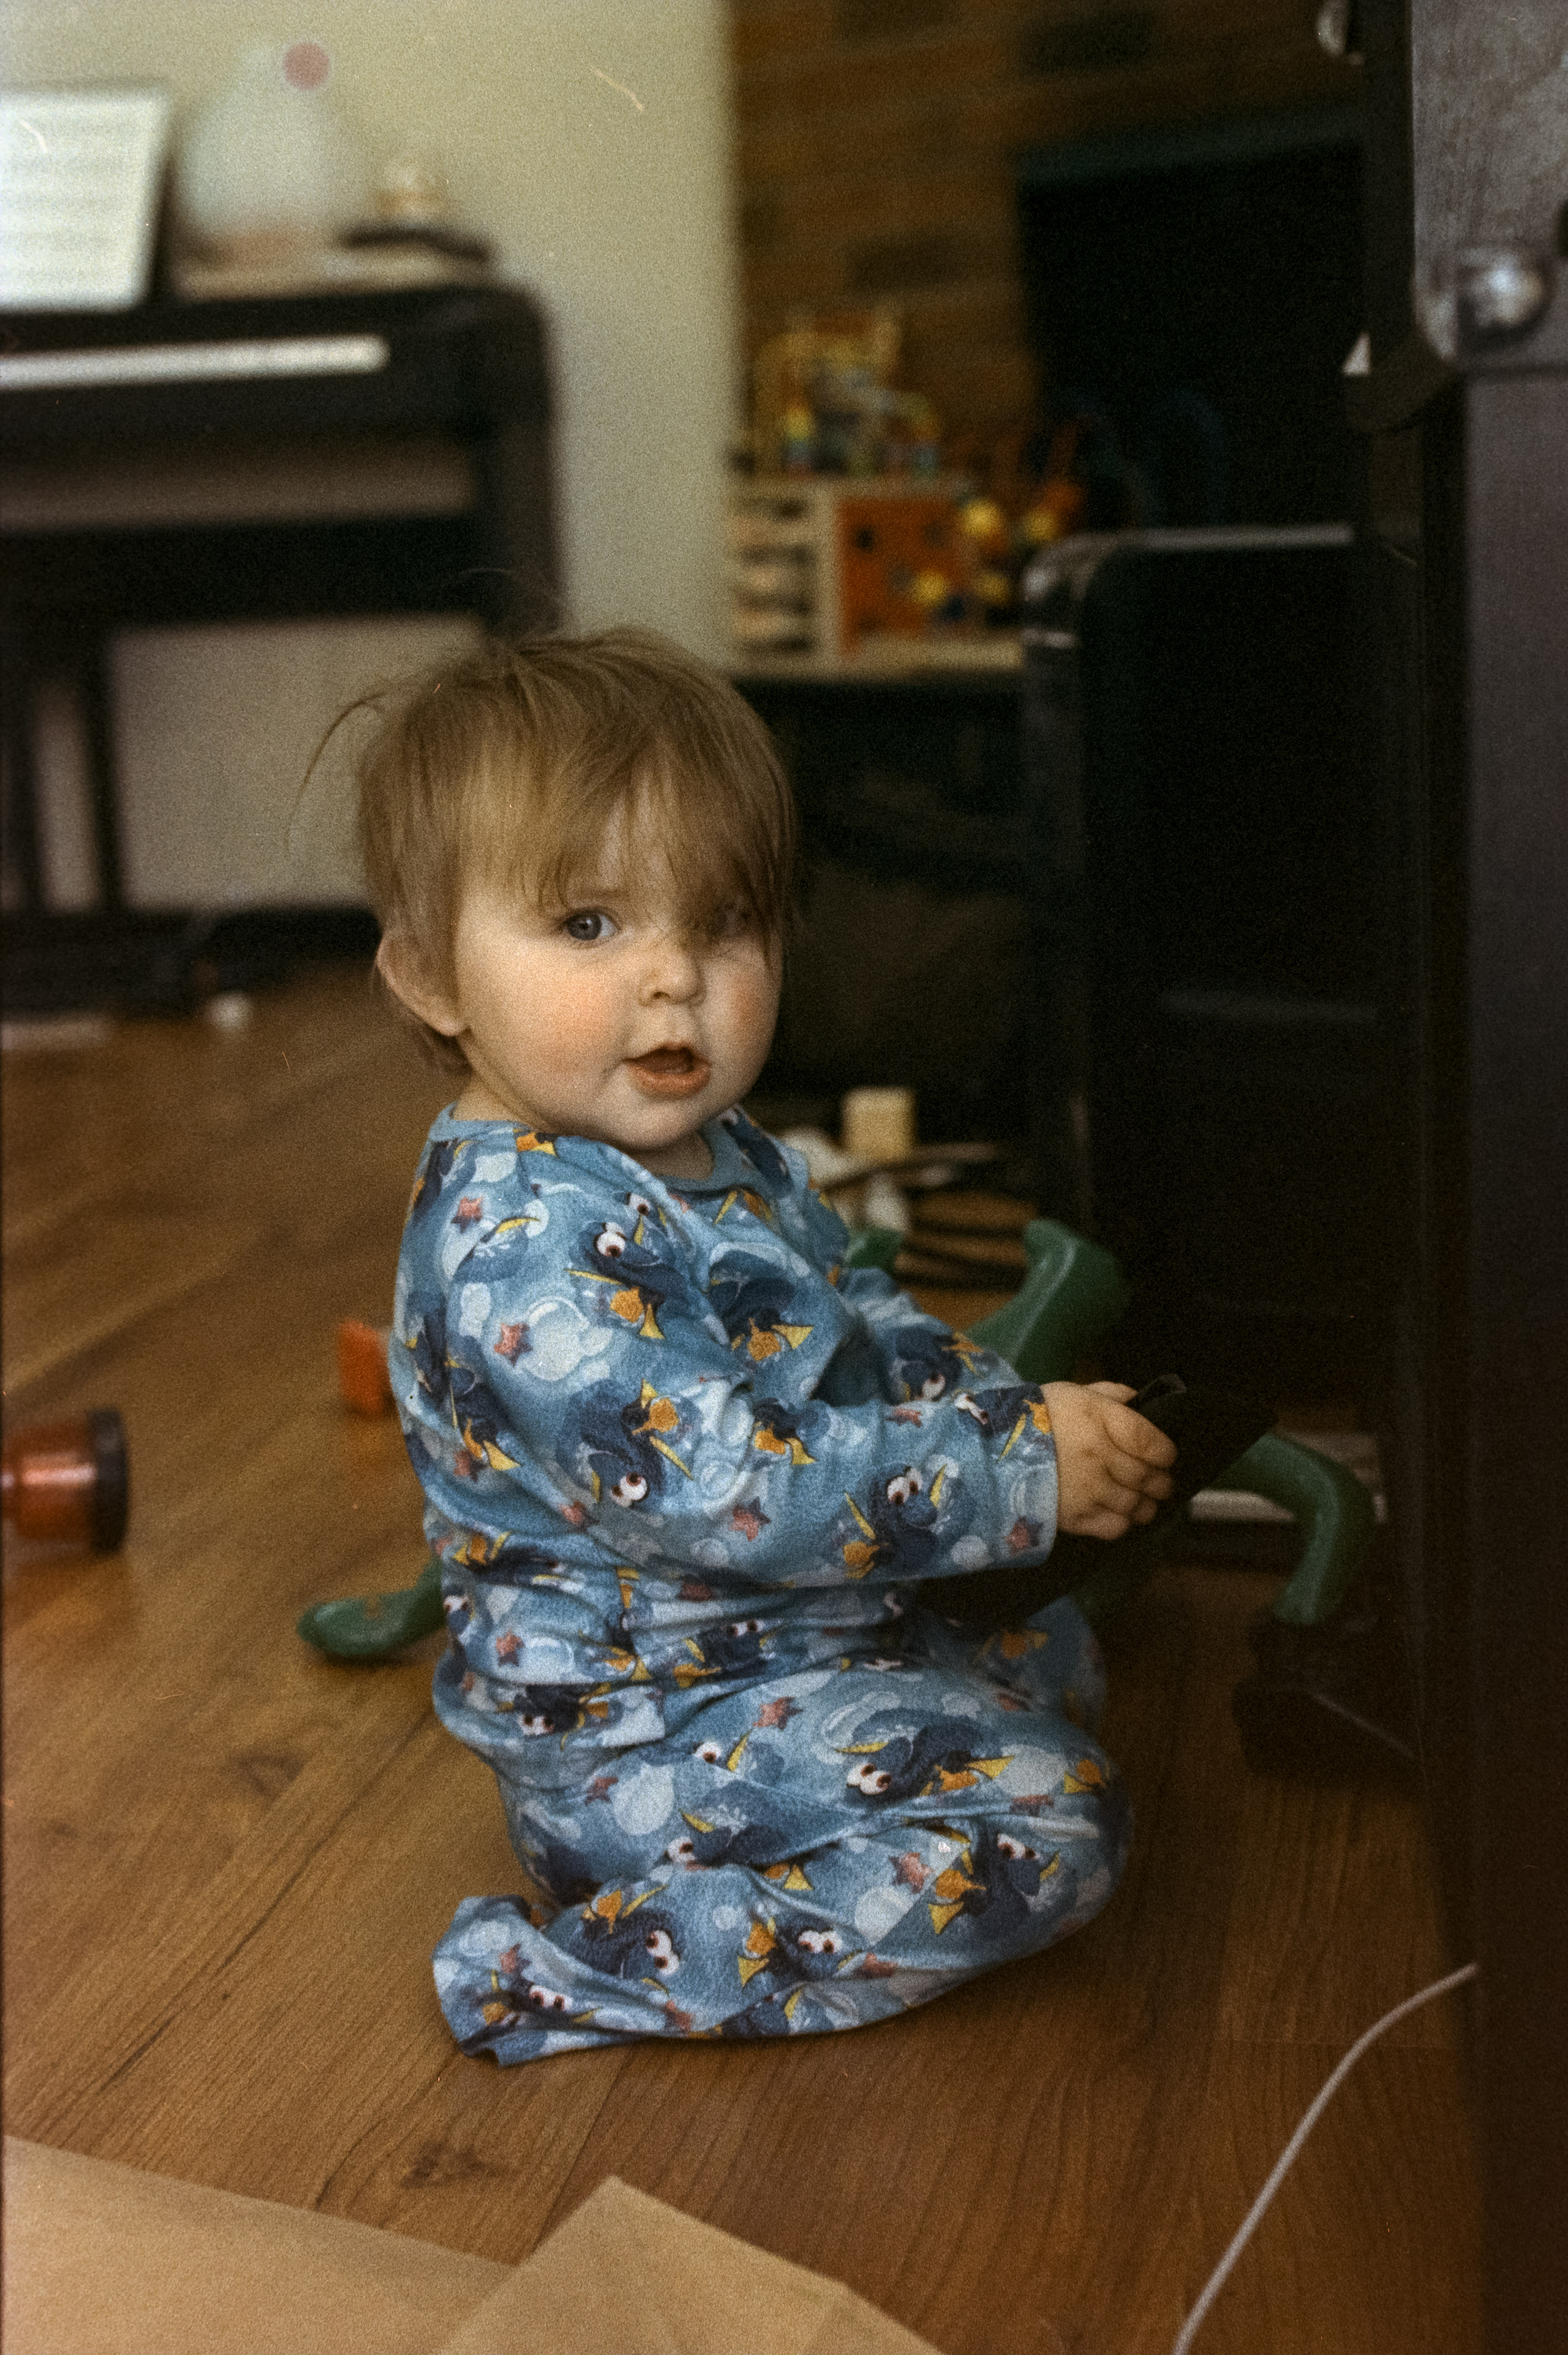
Portra 400 shot at ISO 400
Overall I’m incredibly happy with how this roll turned out, and this might become my go-to film and development method for taking pictures indoors.
CineStill 800T
I also shot a roll of CineStill 800T, setting my meter between 800 and 3200 ISO. I admit I was a little skeptical, because this isn’t the first time I’ve shot CineStill 800T. I’ve shot and developed a couple of rolls of the stuff a few months ago, but I never got good results. But that was before I discovered the magic of C-41 stand development. Would I have better luck this time?
I developed the roll the same way I developed the roll of Superia 1600.
And… at 800 ISO it looks fantastic. In terms of grain, it’s not as pristine as Portra 400, but nowhere near as grainy as Superia 1600.
CineStill 800T shot at ISO 800
At 1600, there surprisingly isn’t much of a difference. Without pixel peeping, to my eye the grain looks pretty much the same as it does at 800.
CineStill 800T shot at ISO 1600
The big shock to me was how well the film held up at ISO 3200, seen in the pictures below.
CineStill 800T shot at ISO 3200
CineStill 800T shot at ISO 3200
CineStill 800T shot at ISO 3200
The grain is definitely more pronounced than at 1600, but the pictures still retain an impressive amount of shadow detail, and they just look good. I would have zero qualms about shooting at ISO 3200 as needed using this film.
Conclusion
I think a lot of film photographers are afraid to use colour film indoors in low-light because they’re afraid of underexposing or pushing it. I hope these articles are starting to convince you that, if anything, shooting and developing colour negative film at high ISOs might even be easier than doing the same with black & white film: just set your ISO dial anywhere between 400 and 3200 and you’re good to go.
Next time we’ll try some Kodak UltraMax 400 and Portra 800.